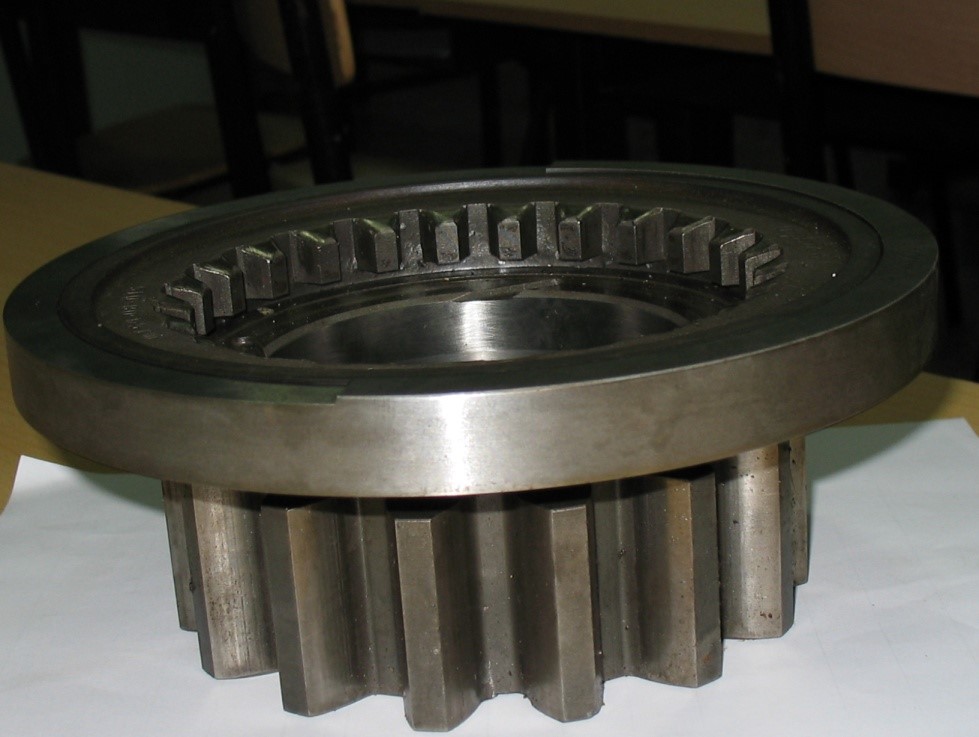
Design of an annular conical gauge for the defection of conical surfaces of pinions in gearboxes.
##plugins.themes.bootstrap3.article.main##
Abstract
Study of the structural parameters established in the letter of technical conditions for the defect and repair of parts in heavy equipment with mats is carried out from a sample of pinions of the main shaft of the gearbox considered waste. The previous calculation of the dimensions of the gauge is carried out from the dimensions of the piece to be controlled. The limit dimensions of the piece to be controlled and the geometric design parameters for the manufacture of the annular conical gauge are determined from the indicators established in NC 16-04. The basic project document (Part drawing) of the gauge is prepared. The 3D computational model obtained from the calculation of the geometric parameters, the simulation of its operating principle and the presentation of the manufactured gauge is shown.
##plugins.themes.bootstrap3.article.details##

This work is licensed under a Creative Commons Attribution-NonCommercial-ShareAlike 4.0 International License.
- Attribution — You must give appropriate credit , provide a link to the license, and indicate if changes were made . You may do so in any reasonable manner, but not in any way that suggests the licensor endorses you or your use.
- NonCommercial — You may not use the material for commercial purposes .
- No additional restrictions — You may not apply legal terms or technological measures that legally restrict others from doing anything the license permits.
- ShareAlike — If you remix, transform, or build upon the material, you must distribute your contribution under the same license as the original. NOTE: This point applies to numbers 1 to 20 of the magazine with the previous CC-BY-NC-SA 4.0 license. Does not apply to the new CC BY-NC 4.0 license from Volume 11, Number. 21 (2024).
References
Cruz, D. I. (2009) "El reacondicionamiento, manufactura o adquisición de piezas de repuesto para tanques.”, Primer Seminario Científico Tecnológico, Centro de Investigación y Desarrollo de Diagnosis, Conservación y Modernización del Transporte.
Cuele, S. A., García, G. J. y Hernández, A. O. (1989) Ajuste Herramentista, La Habana. Editorial Pueblo y Educación.
González, R. R. y Toscazo, M. J. (1986) Mediciones Técnicas para la Especialidad de Tecnología de Construcción de Maquinarias. La Habana. Editorial Pueblo y Educación.
Hernández, S. F. (2006) Metrología Dimensional. La Habana. Editorial Félix Varela.
NC16-04: 81. Calibres lisos para dimensiones hasta 500 mm.
Anillo con lengüeta en un lado DIN 230. Calibres cónicos para cono morse.
Anillo DIN 2080. Calibres cónicos para conos con fuerte conicidad.
Anillo DIN 55026 / DIN 55027. Calibres cónicos para cabeza de eje y brida de mandrino.

